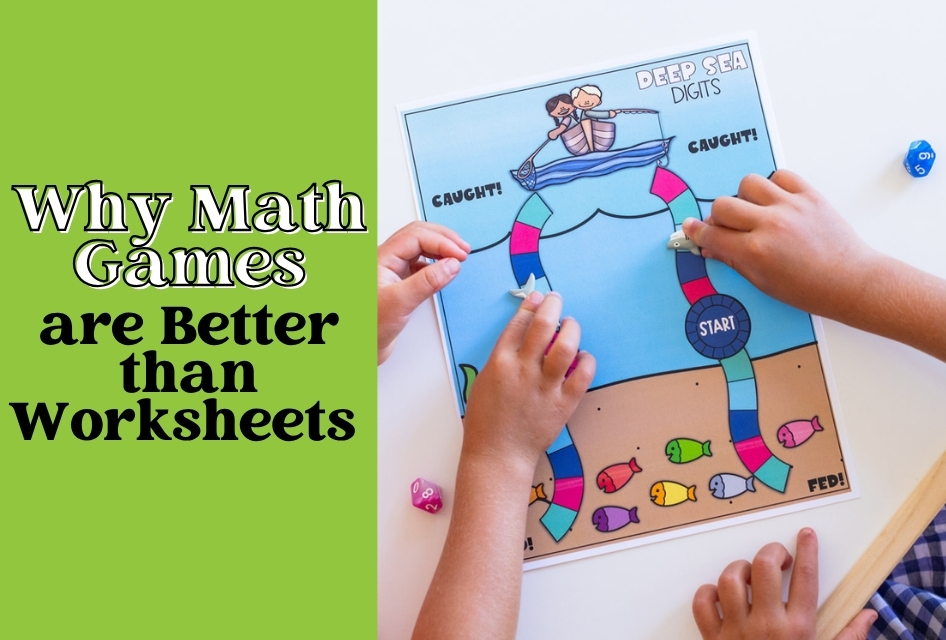
Math games are SO awesome to use in the classroom for so many reasons – from working on important math skills to giving your students a chance to work on social skills.
However, playing math games in the primary classroom can often seem daunting. Not only do you need to come up with all of the games and materials, but also need to figure out how to organize math centers!

I’ve played math games in my classroom for years and I’m sharing my best tips and tricks for managing monthly games!
Keep reading to find out how you too can easily incorporate Centers in a Snap in your classroom.
This post contains affiliate links. By purchasing an item on Amazon using these links, I will receive a small commission on your purchase. For more information about my Disclosure Policy, please visit this link.
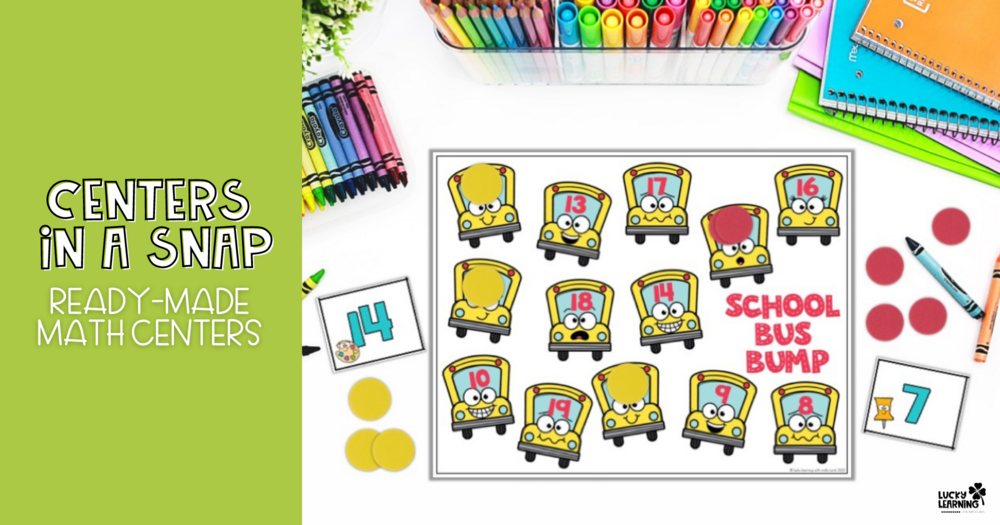
Zero Prep Math Centers
How Many Games?
The number of games you add to your math stations will depend on how many students you have in your classroom. I always pair up kids, but you can definitely have a group of three, too.
I’ve included twelve games in Centers in a Snap because most classrooms hover around 20-24 students. If you need more games, you can definitely print out a second copy of a specific game from the included digital file or add another game of your choice.
Getting Math Center Games Ready
Centers in a Snap are almost ready to go out of the box! You’ll just need to cut some pieces out.
It’s totally up to you if you’d like the laminate the games. I personally do in my classroom so the games will last longer. However, you can always reprint any pieces that may get damaged over time from the included digital file.
Storing and Organizing the Math Center Games
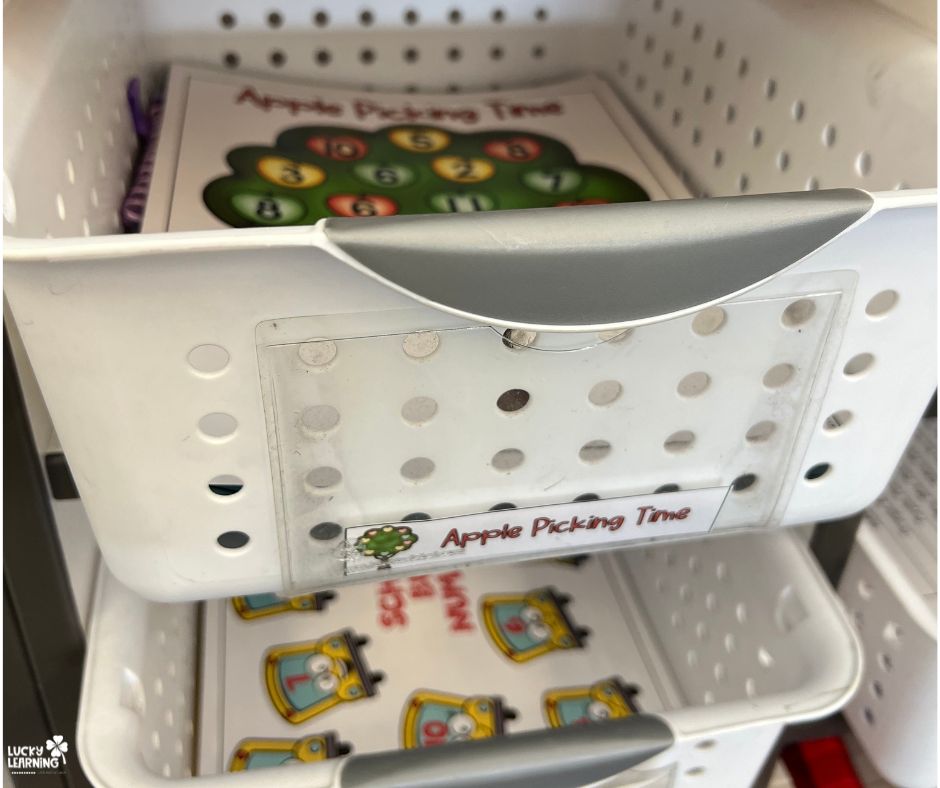
You’ll want to decide how to store each of your games. You can choose plastic containers, baskets or zippered pouches – whatever works for your room and your style!
Keep in mind that you’ll want the games to be easily accessible so students can quickly grab the games and get started.
In my classroom, I use a basket for each game and added a plastic label holder with the game’s title. I print out an extra copy of the Game Card at a reduced size to slip into the front of my basket. This makes it easy for students to recognize their game for the day! {Note: my plastic label holders were way too big for this label!}
Partner Up!
You’ll want to partner up your students for the month of games. I chose to create my partner-groups heterogeneously based on ability.
I keep my partners the same for a few months at a time, but you can switch it up each month if you’d prefer!
Setting Up Partner Cards + Game Cards
Find a Spot
To keep things simple {and hands-off for you each day!} you’ll want to find a spot in your classroom to display the partner cards and game cards. This is a spot where your students will check in each day to see what game they are playing. Ideally, you’ll want to use a magnetic surface, such as a file cabinet. This will make changing the games each day a quick activity for you {or even a student}
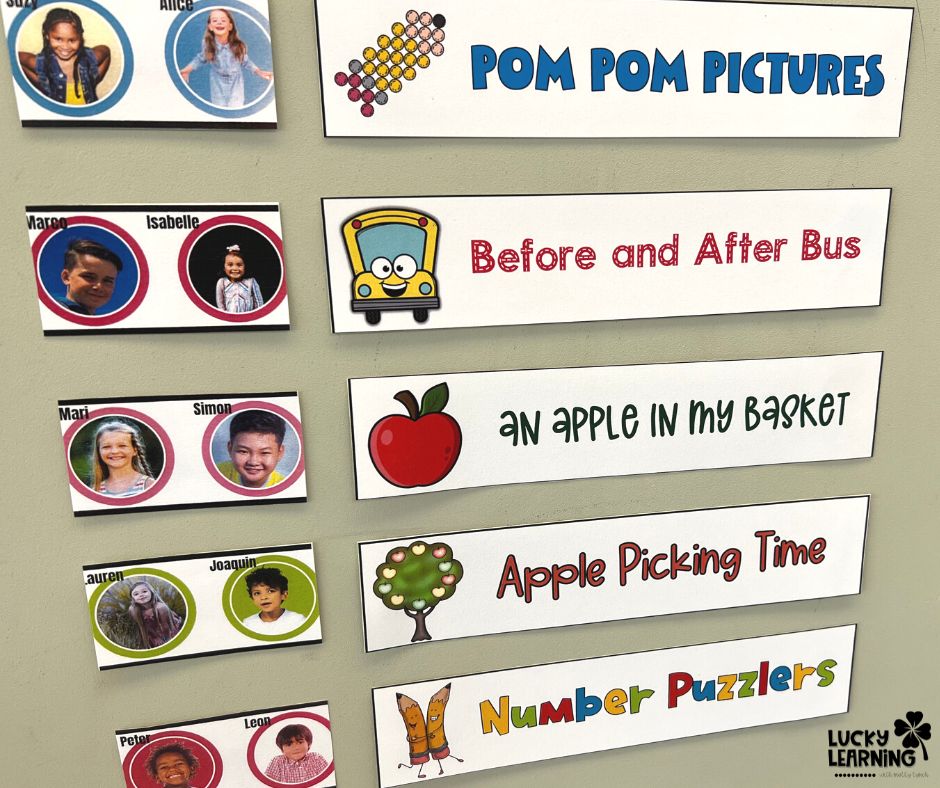
Partner Picture Cards
I take photos of my students so they can easily recognize their faces next to the game of the day.
Another benefit to setting up this way is that kids can always see who has played the game before them. So, if they are stuck, they can always seek out help from a friend who has played the game before them.
A Canva template is included in the PDF directions for Centers in a Snap. You can see how easy it is to personalize for your classroom below. You will need to have a free Canva account {but I promise you’ll use it for SO many things so it’s worth signing up for!}
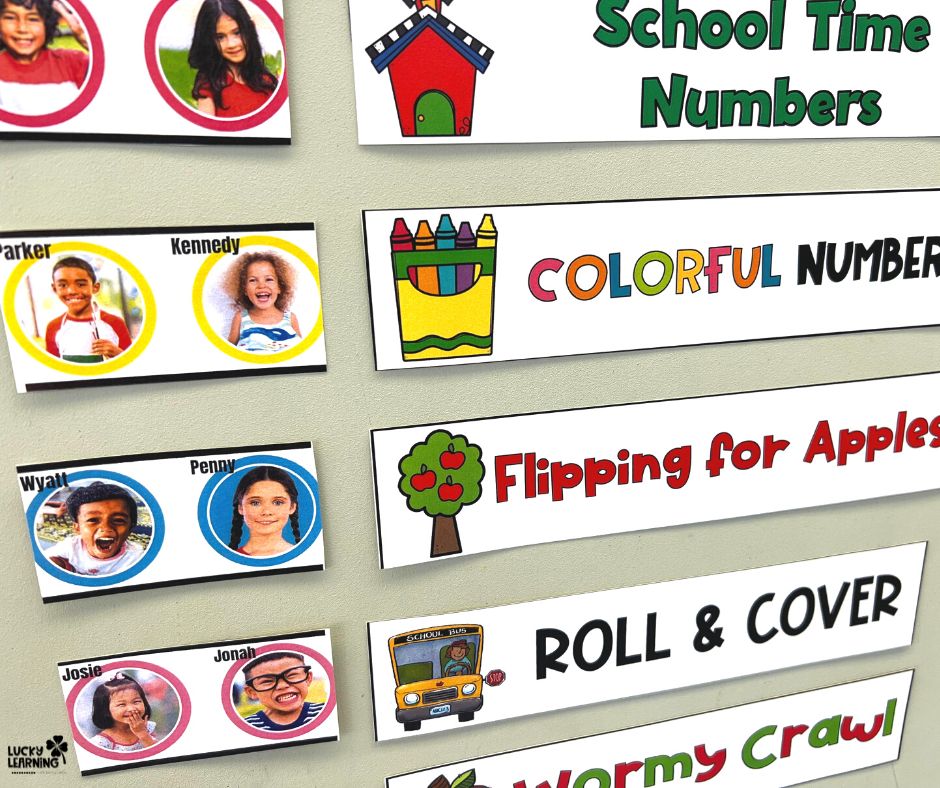
Game Cards for Organizing Your Centers
Classroom organization is vital for any grade, but especially for young and often messy students.
Want me to send you this post?
Each game has a corresponding Game Card. Laminate these cards and add magnetic tape {or velcro} to the back of each.
The Partner Picture Cards will always stay in the same place. Each day you will only move the Game Card down one spot.
Students will cycle through the games throughout the month. In a typical month, each group will play the game twice.
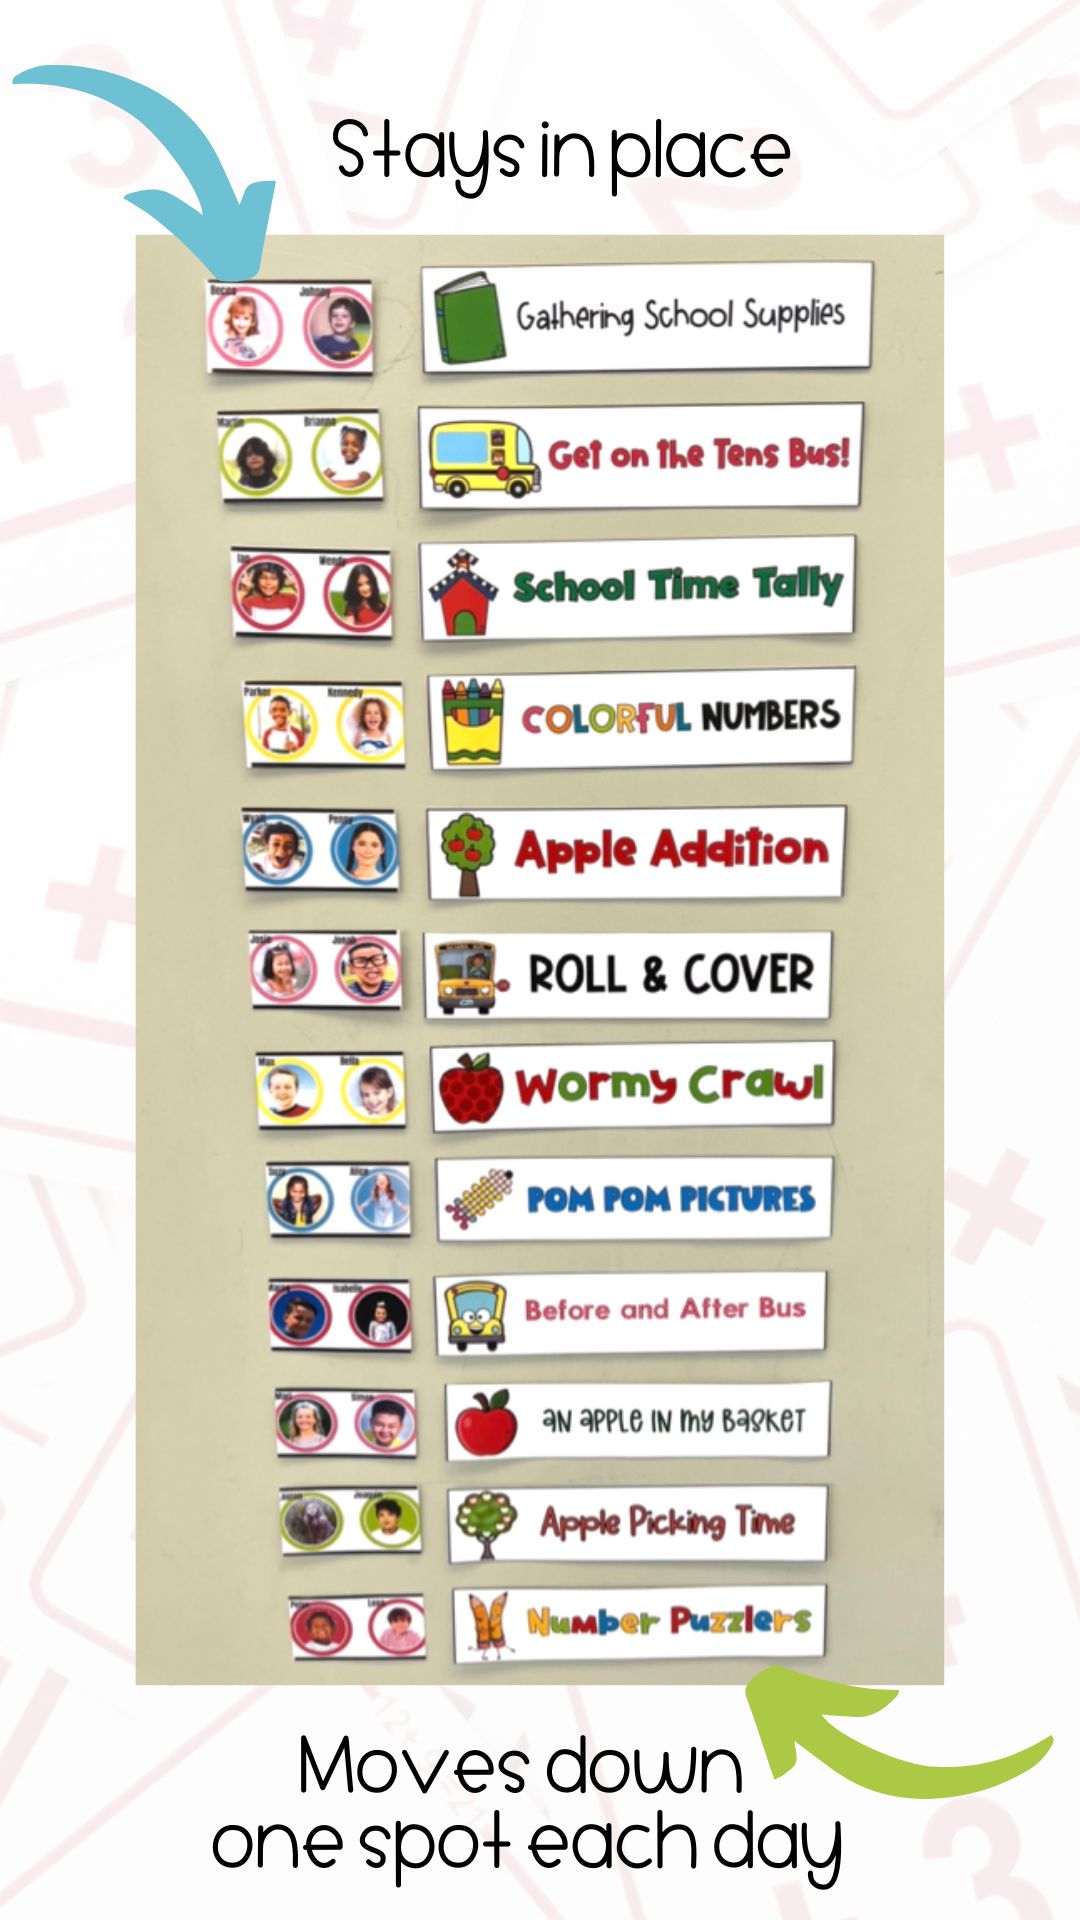
Using magnets or velcro makes moving Game Cards fast and easy! It’s also a great job to pass off to a student 🙂
Related Reading: Classroom Hacks for Teachers
Introducing the New Games
On the first day of the month, I gather all of the students on the carpet and we go through each of our new games.
This is a time for you to fully explain the game and materials that will be used.
This can be time-consuming {and exhausting!} However, I think it’s worth the time of explaining each game so it builds excitement for the new games!
Alternatively, I’ve included a QR Code that, when scanned, will take your students directly to a kid-safe link of me playing the game!
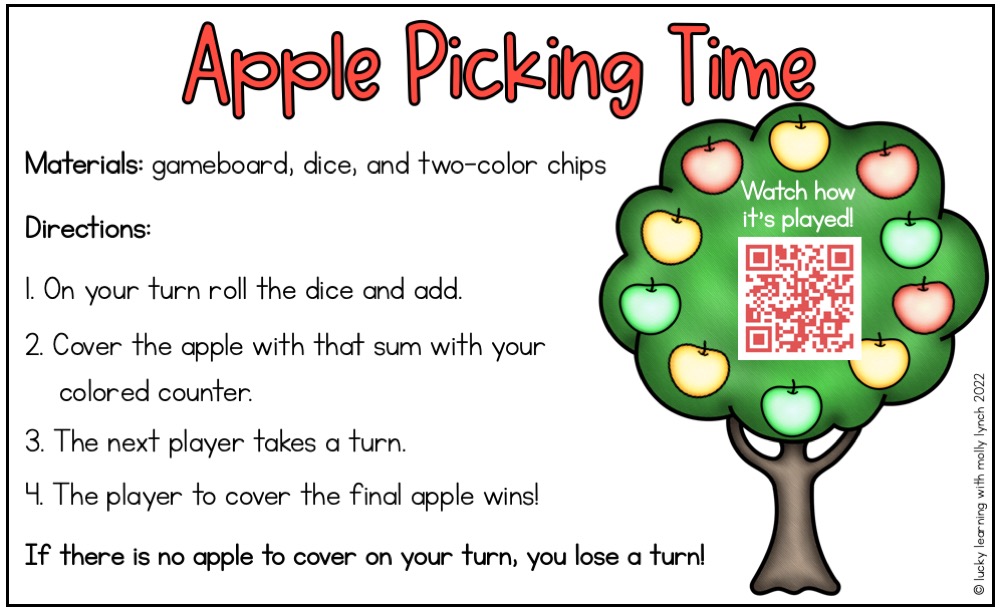
An added bonus is that when a student can’t remember how to play the game, they can quickly scan and review me explaining the game – not you!
How to fit in the games each day
Keep in mind that games are just one part of your math block – not the entire lesson!
Here’s what a math block looks in my classroom:
1. I teach a lesson each day {about 5-15 minutes}
2. The students do their hands-on and independent work {about 10-20 minutes}
3. Everyone plays games for about 15-20 minutes per day!
See? It’s easy to squeeze in these games because the foundational math skills your 1st grade students will practice are part of the hands-on learning!
Zero Prep Math Centers
Storing & Organizing All of the Math Games
The goal of Centers in a Snap is to make these games so easy that you’ll have no excuse not to add them to your classroom routine!
So let’s make storing the games easy, too! At the end of each month, simply drop your games into a plastic bucket with ALL of the supplies! I love these stackable Sterilite bins. They are spacious enough to hold all of the materials and durable to hold up over time. If you’re lucky, your local CVS may carry them and you can use a coupon!
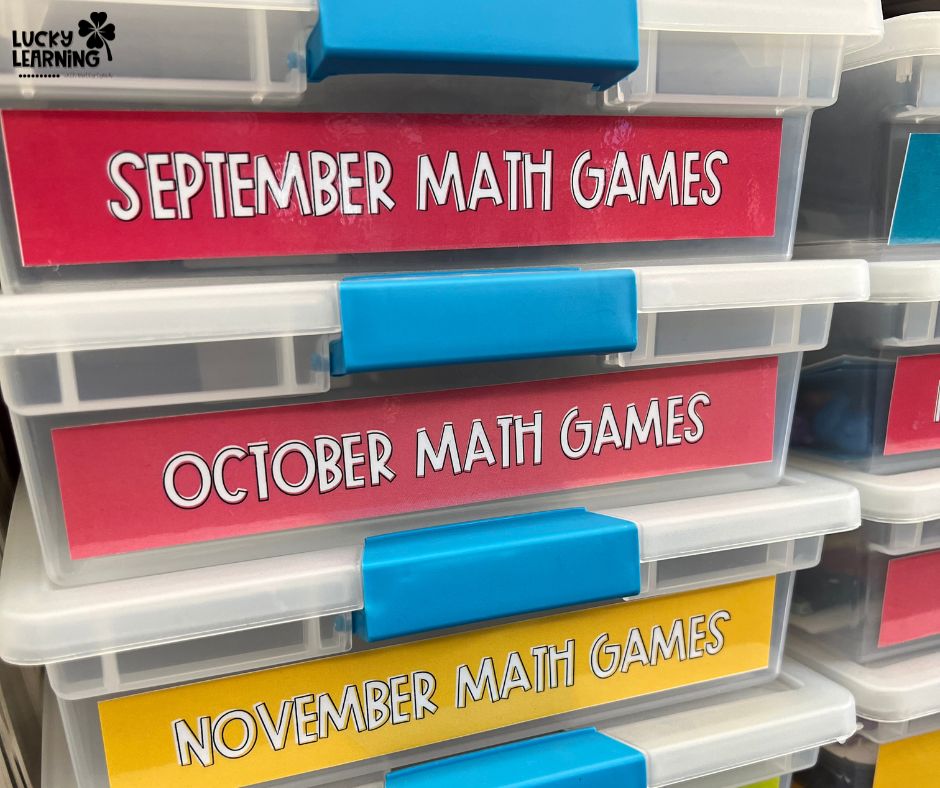
Want a copy of these monthly box labels? Enter your info below! {If you subscribe to Centers in a Snap, the labels are included in your digital file!}
Pro tip: Keep an original of the worksheet inside so you’ll just need to copy them when you pull out the box again next year!
How to Organize Math Centers Recap
With the right systems, you can easily set up your math center organization for ease of access. With Centers in a Snap, I give you everything you need for easily manageable and organized math centers in your classroom!
Ready to get started? Go grab Centers in a Snap!
Want to see more of what’s included? Go read this post about ready-to-go math centers!


One Response
Can’t wait